Update: brass locking pins!
Hi there! I’ve got a more detailed (nerdy) update on Binstax for you.
First of all, all parts are now in production, and the earliest delivery dates are set in early September.
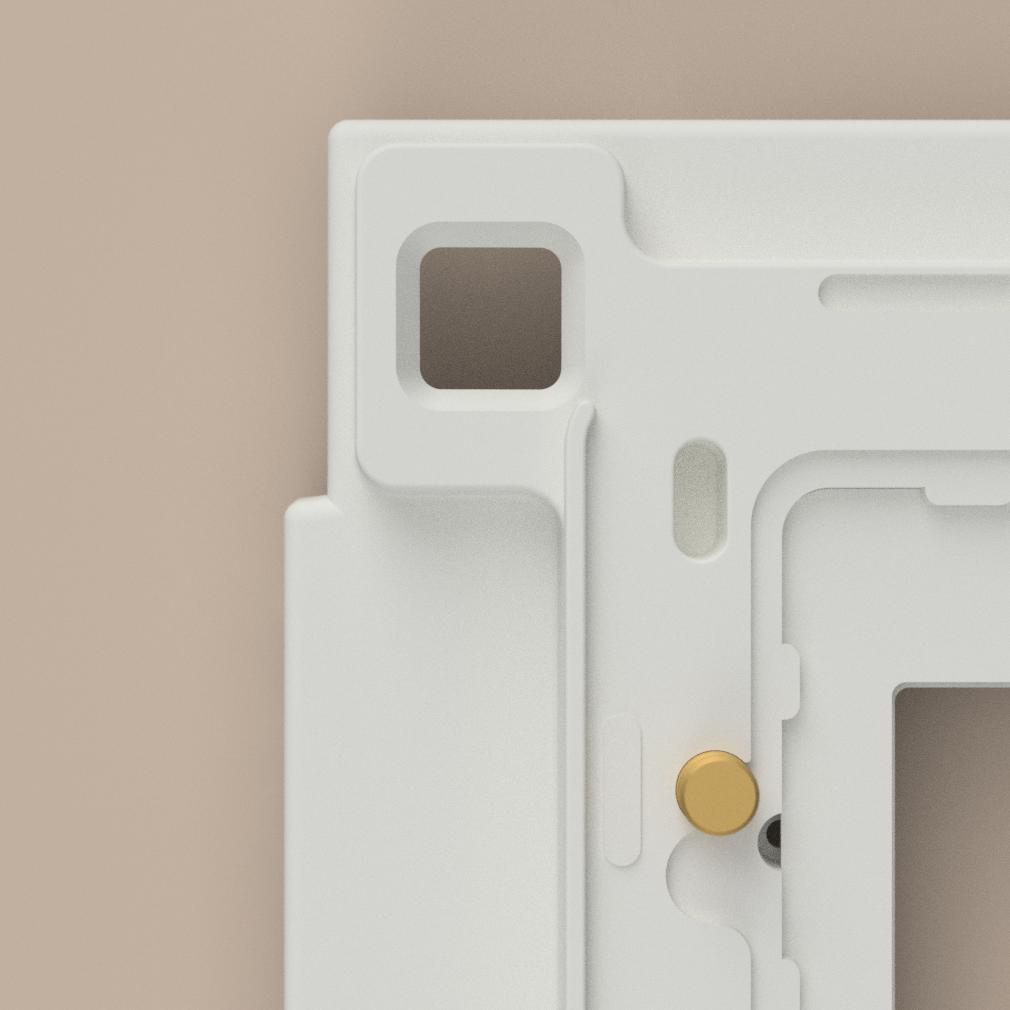
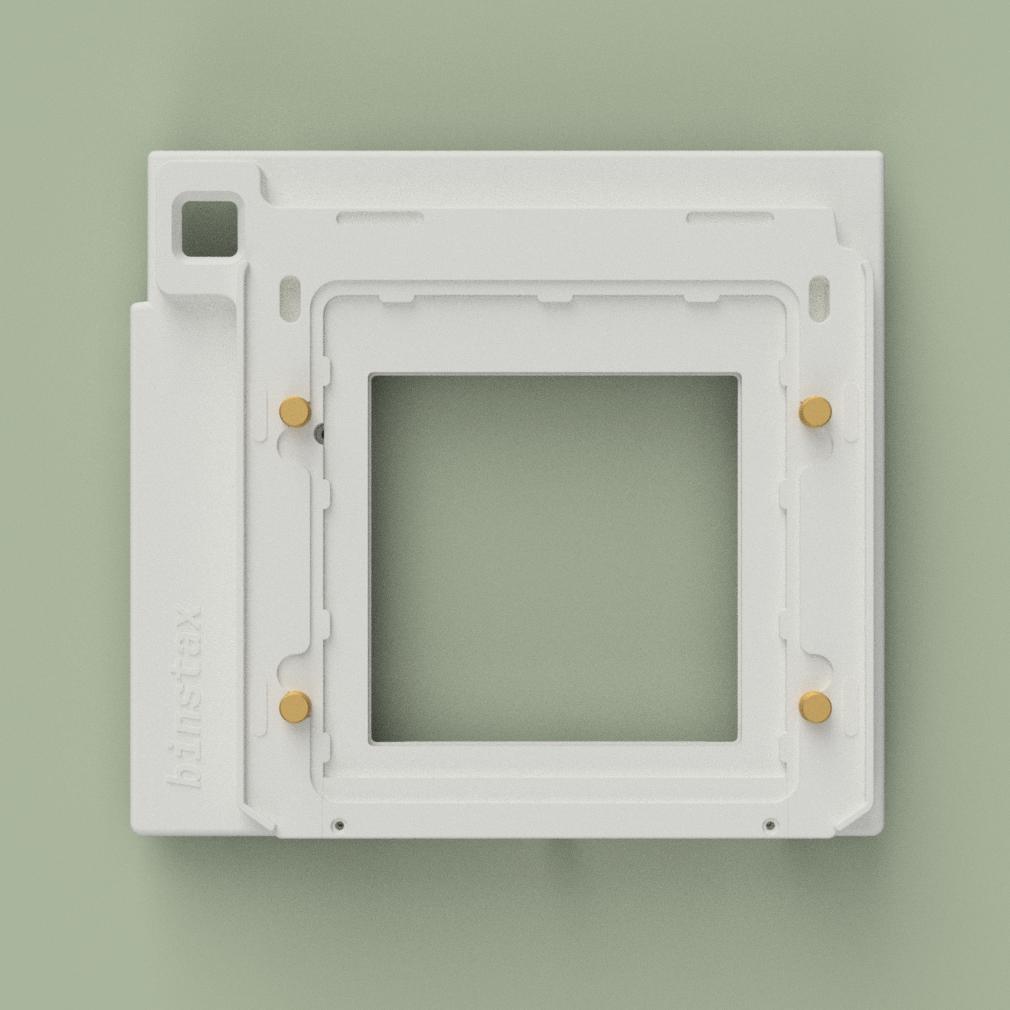
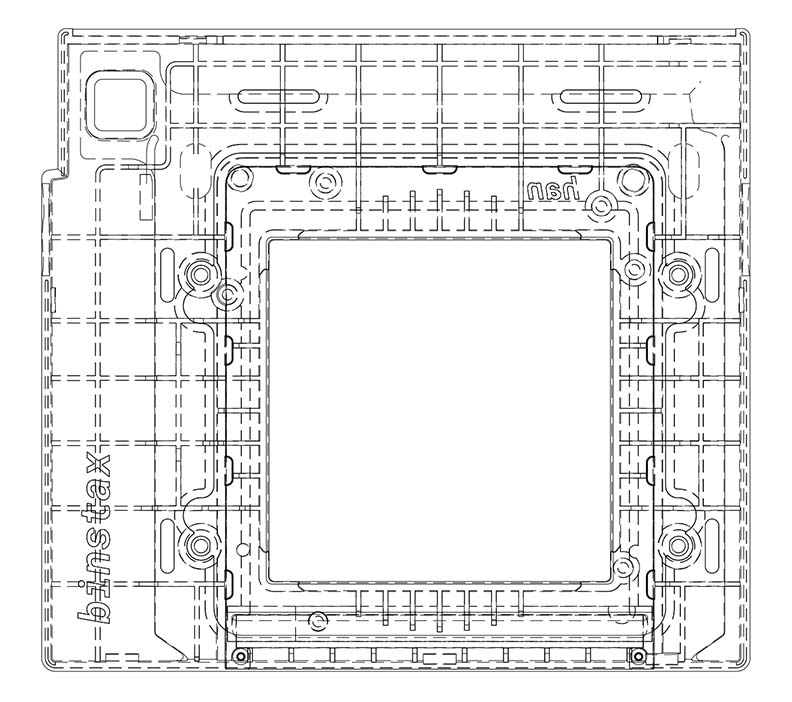
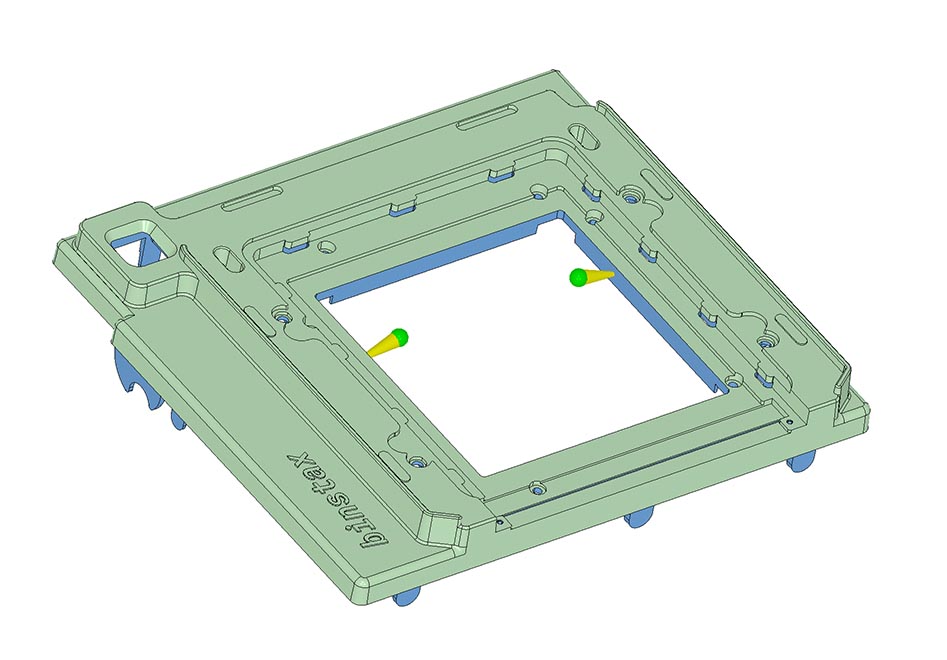
What’s that window in the top left corner?
Here’s the answer: it’s for the original SQ1 viewfinder.
You can shoot your RB67 at eye level even without a prism finder (which weighs a ton). If you’re at a pinch, just use that built-in viewfinder.
It certainly won’t be as precise as a dedicated prism finder, but it’s 1000x lighter than that chunky chunk and it gets the job done.
Plus, have you ever seen a film back that has a viewfinder? Cool factor is just off the chart.
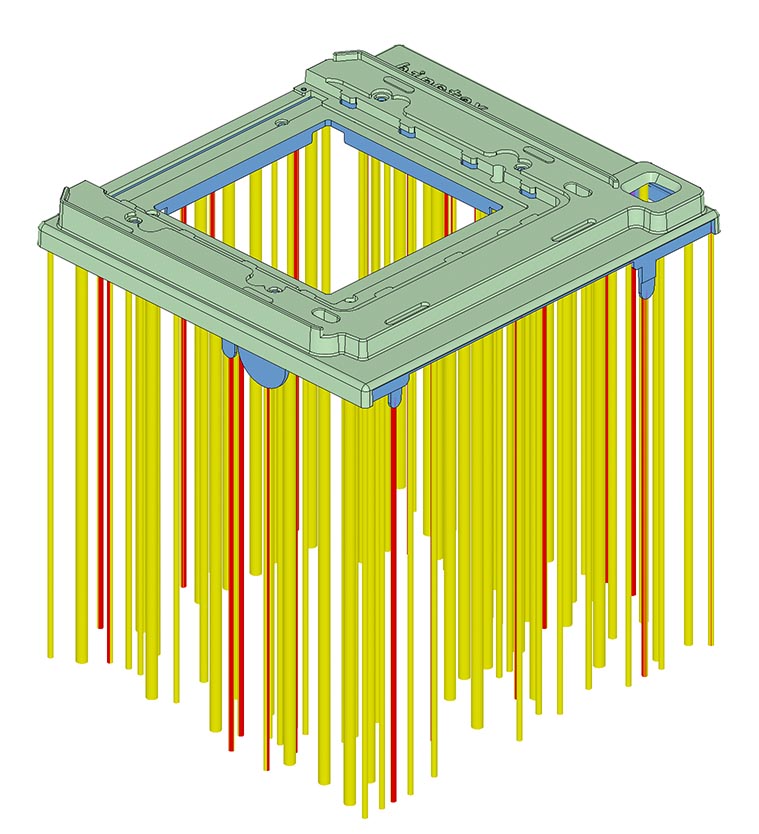
The main part will be injection molded.
If you don’t know what injection molding (IM) is, it’s basically a process where parts are formed by squeezing molten plastic into a mold.
It’s undoubtedly the pinnacle of modern manufacturing processes for plastics (by the way, IM will also be the topic of my master thesis, because, you know). It produces stronger and more accurate parts that also have a better surface finish.
A big drawback is the cost of the mold. It has to be precisely machined (the smallest end mill used to machine the binstax mold has a diamter of 0,66 mm, the width of 13 strands of human hair stacked together, to put it into perspective).
A mold could cost anywhere from 3,000 to 50,000 Euros, so IM is not exactly suitable for small runs. The binstax mold costs around 9,000€, if you’re curious.
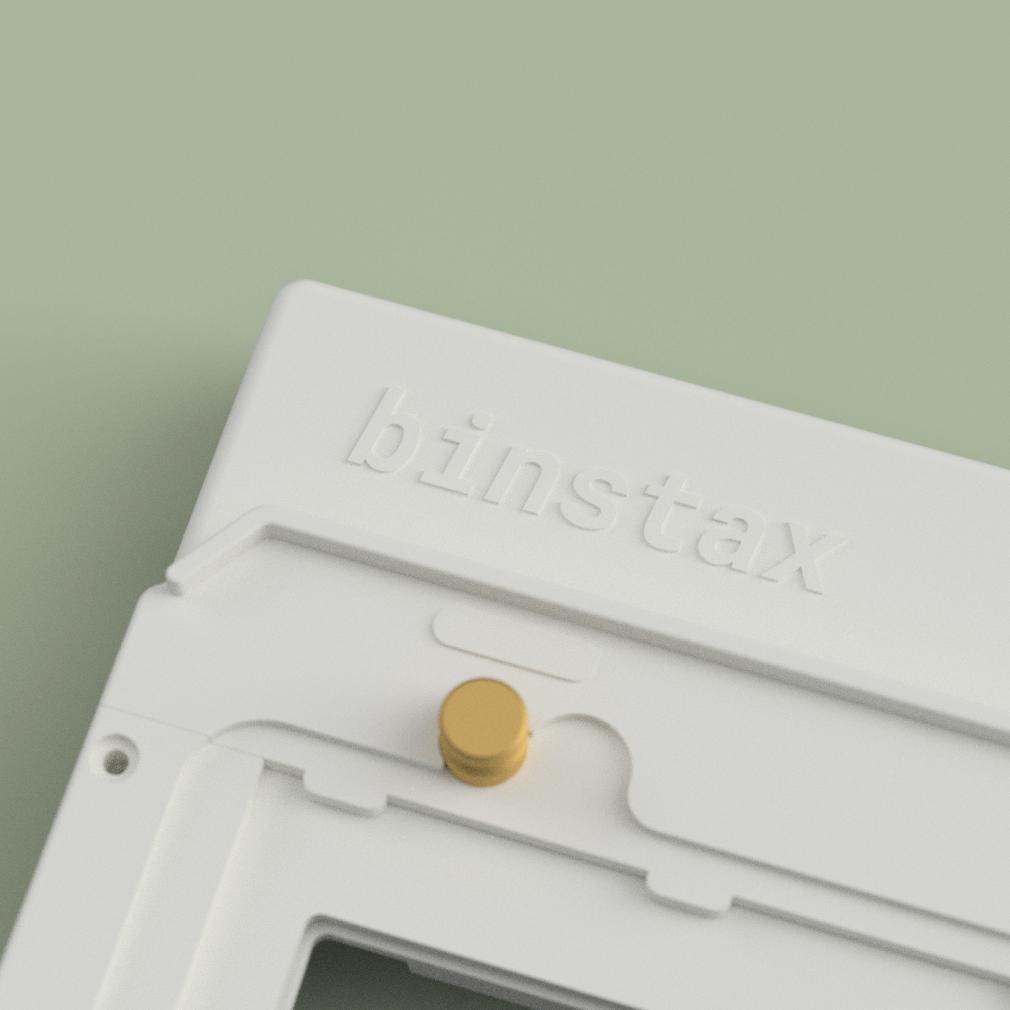
The color of this part will be white (more specifically, RAL 9003 “signal white”) and has a light bead-blasted texture. The previous renderings are supposed to give you an accurate impression about its color.
I have no control over the other half, which is manufactured by Fuji, so there will be a difference in color.
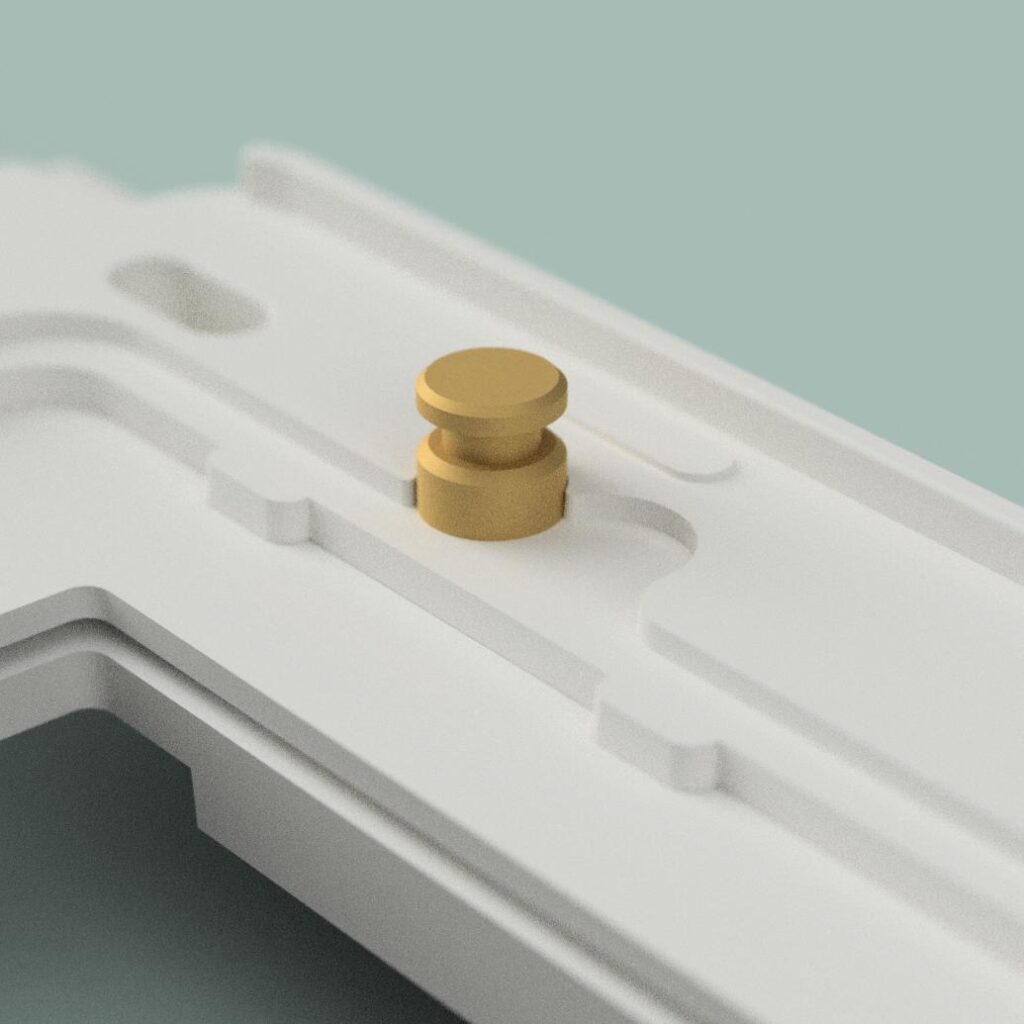
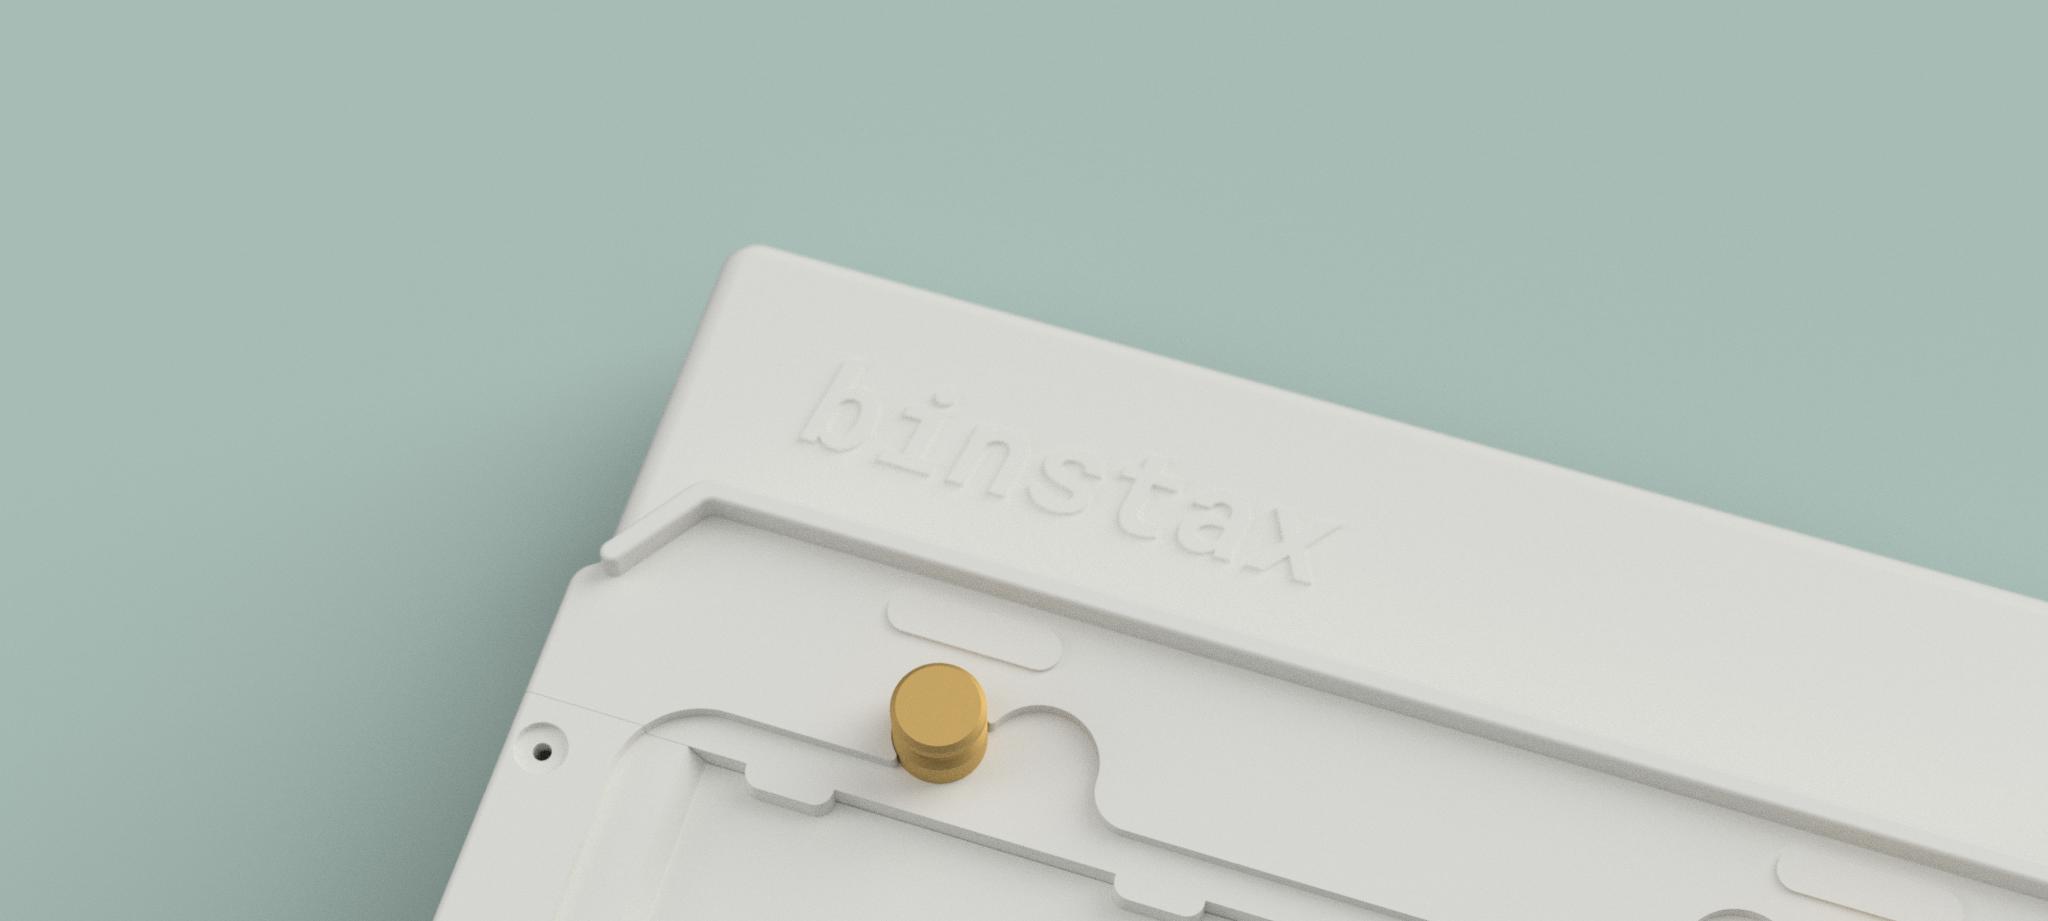
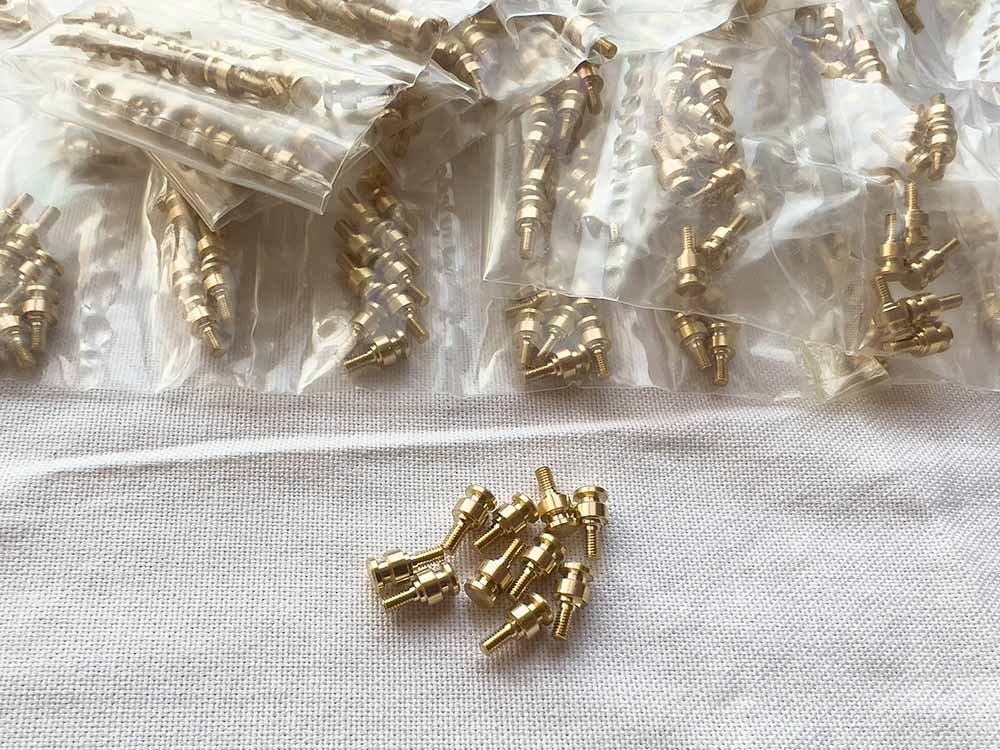
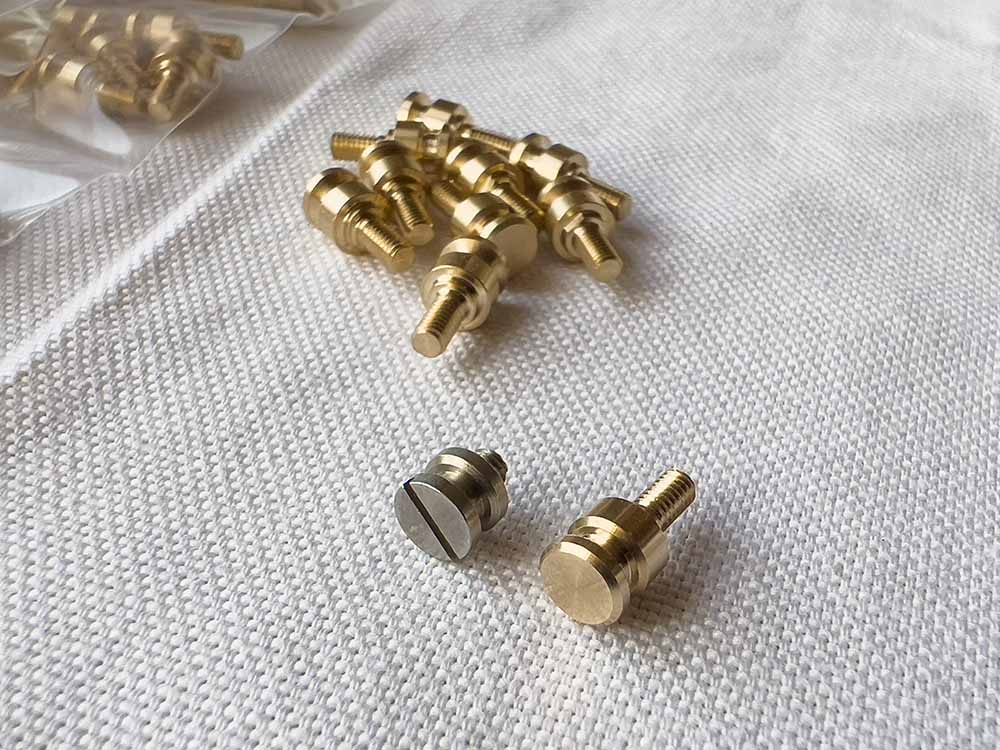
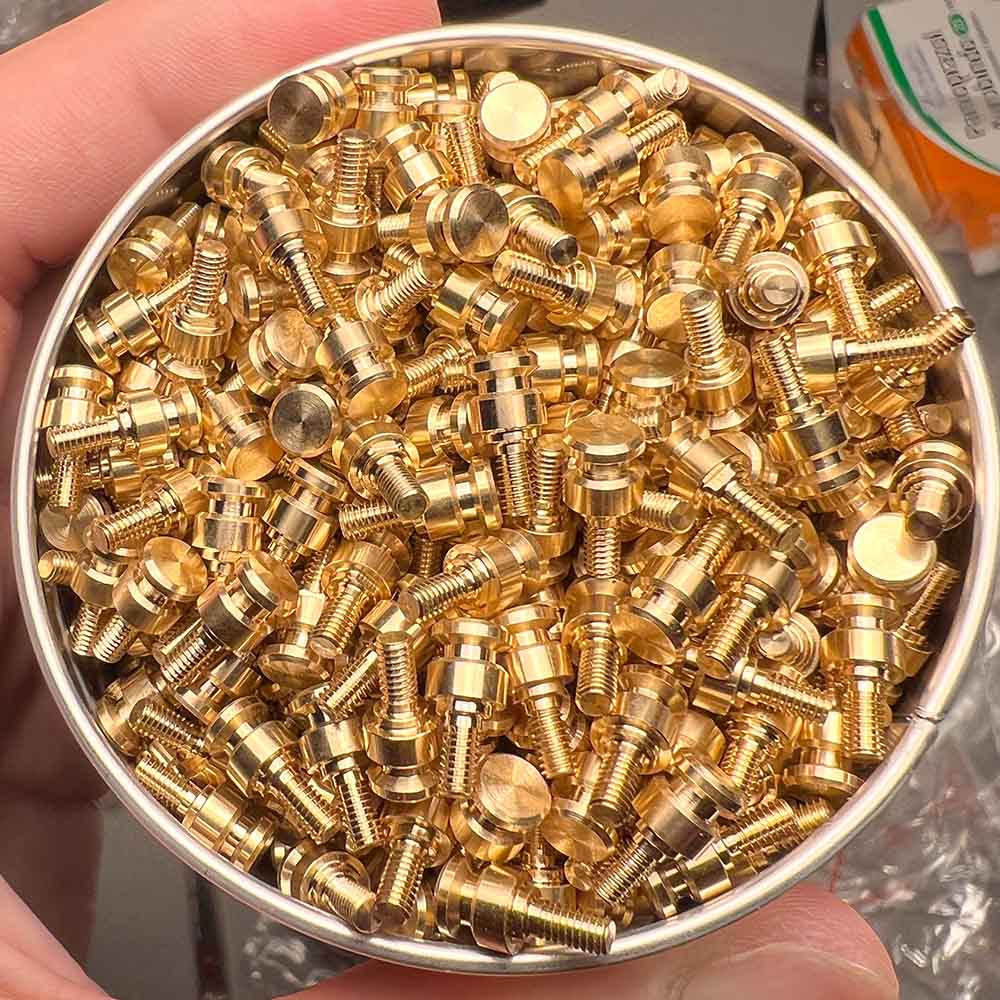
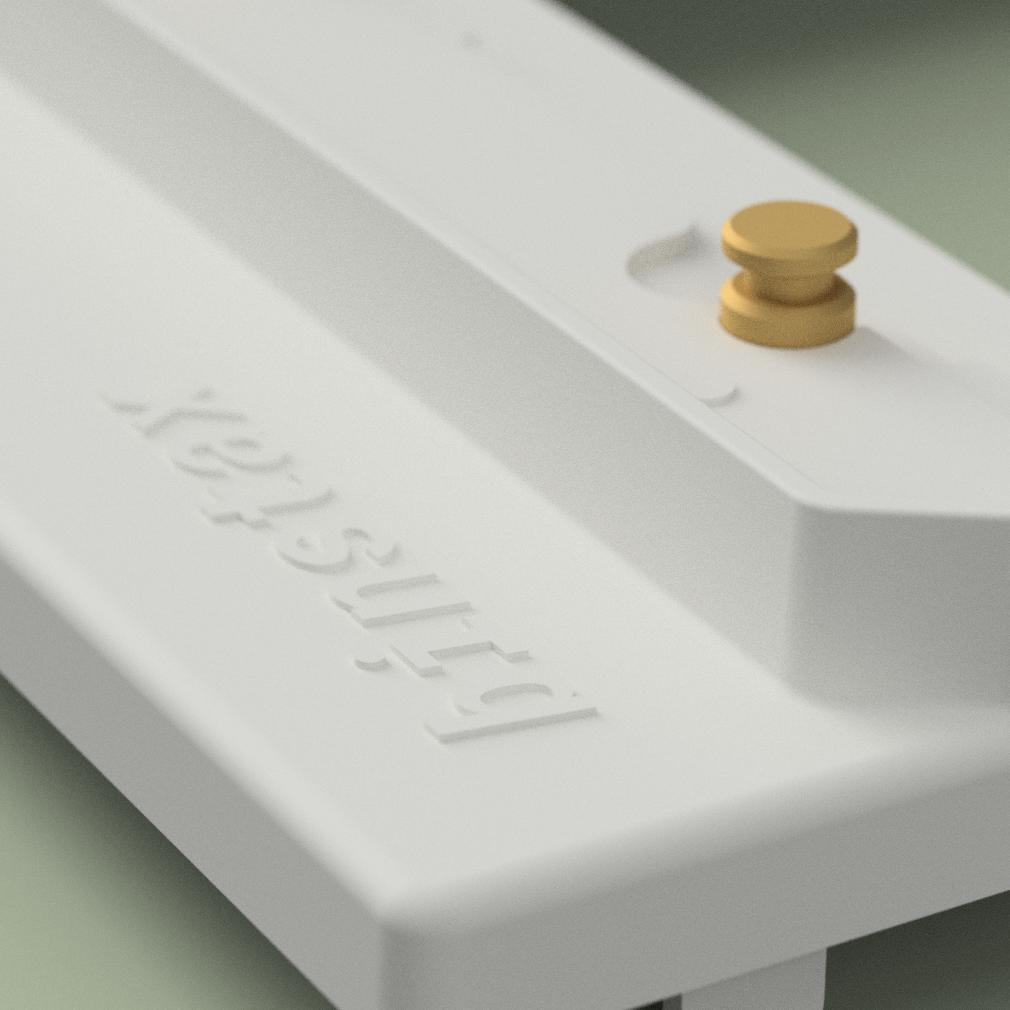
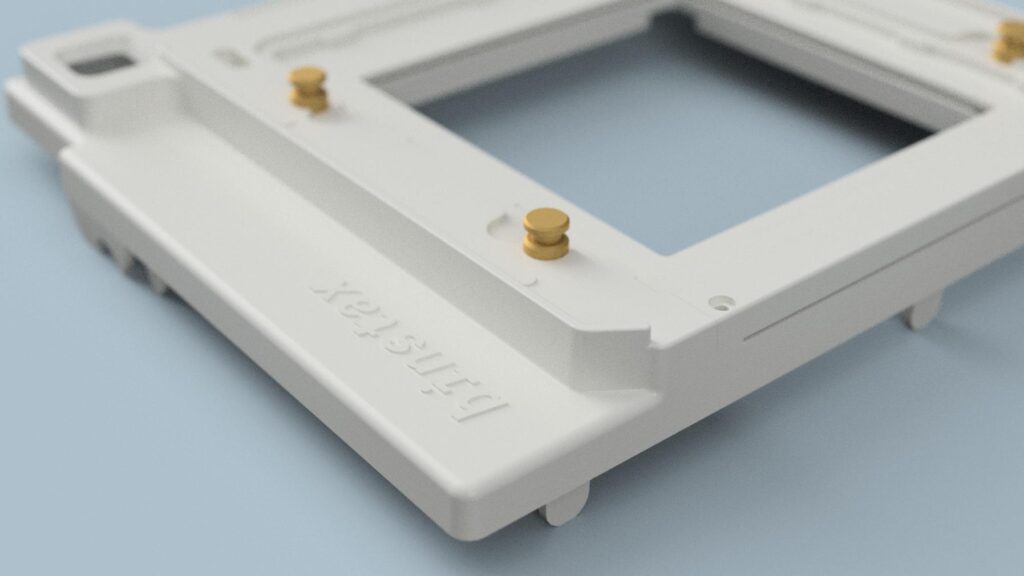
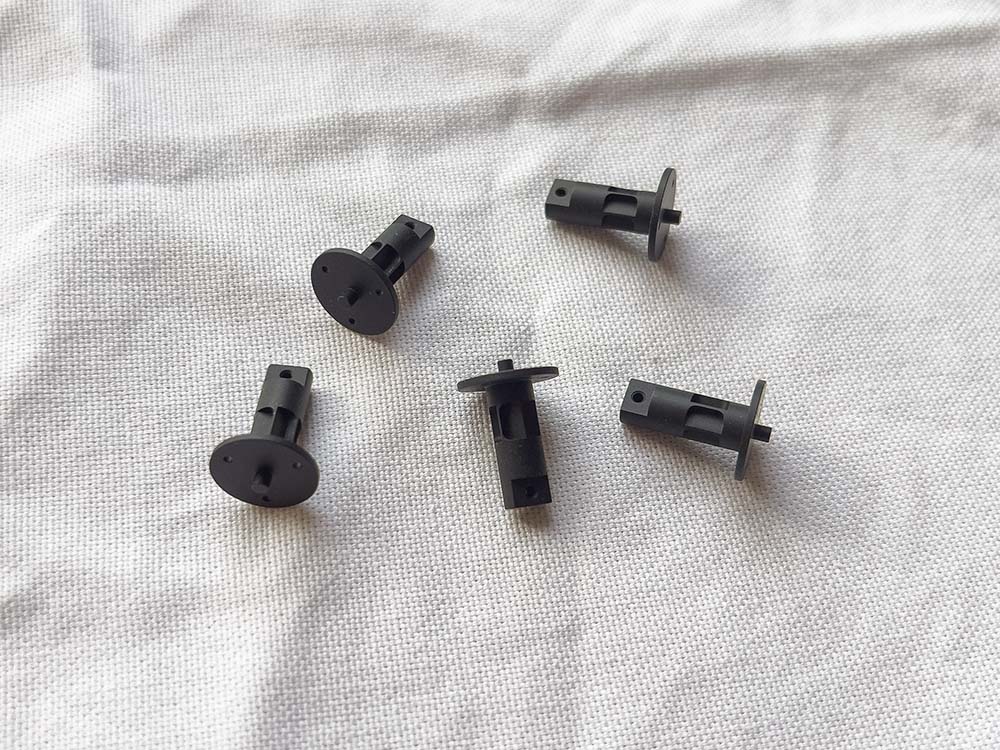
With that out of the way, here’s another piece of information I hope is interesting for you: all small parts, including the crank and the dark slide holder on the back, will be machined out of Alumin(i)um and have a bead-blasted finish. The locking pins will be machined out of Brass. I haven’t received the brass pins yet, but I guess they’ll look glossier than the matt ones in the renderings.
Binstax also comes with the one-way mechanism I recently developed to allow the crank to only turn in the right direction. If you are interested why and how I designed it, you can read the previous post here.
I spent two whole months on the CAD model, and the current model is the 198th revision.
It also takes a lot of time communicating with the mold maker. They give me feedback on the manufacturability of the mold, and I have to make the change accordingly.
I’ve uploaded nine revisions in total.
And just for fun, I made this loooooong image of the design history of binstax. It has over 20,000 pixels on the long dimension.
I put my heart and soul into it, and I hope you’ll enjoy using it.

Beautiful.
Thank you!
This looks really interesting, cannot wait to see another update on the final look and the taken photos!! I am thinking of getting one for my RB67. Will this design work with the Rb67 Pro SD? Thank you!
Yes! Actually I took all the measurements from a Pro SD 🙂
wow, cant wait’
Would this work on a 2×3 graflex with a graflock back?
It’s made to fit an RB67, I’m not sure if you can find some kind of adapter to use it with a Graflex though!
Can’t wait to get my grubby mitts onto one of these.
Any ideas of delivery time to Australia?
It’s usually 1-2 weeks!
Amazing work – I will definitely want to buy one of these for my RB67 when it is ready. Best wishes and well done!
I am super excited to buy one. Waiting on the next available ones. Can’t wait to get some great polaroids. Very excited