Hi there! This will be a short post about how I go about repairing your zinstax/binstax with custom-machined inserts. Unlike the previous ones, this post won’t be about how exhausting moving my home has been (/s, of course).
Soooo every now and then I get emails saying a binstax or zinstax has stopped working.
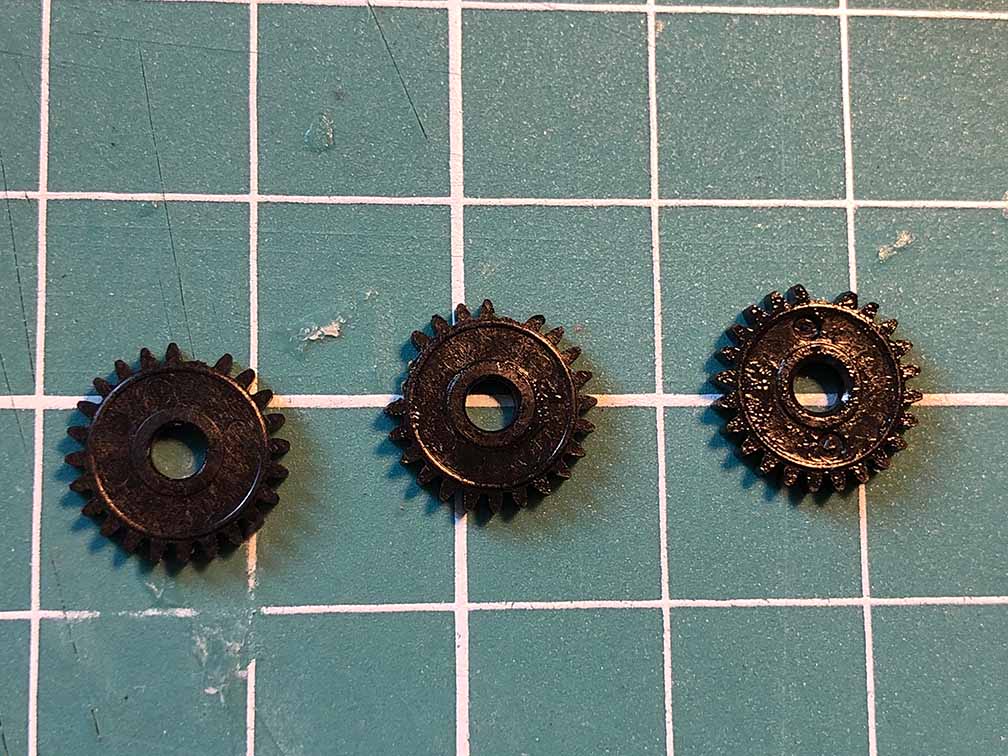
It used to be that a broken spur gear was the issue, usually from turning the crank the wrong way, which was pretty easy to fix. Just replace the gear and it’s good to go.
Here’s a picture of those poor gears. They’re like a mechanical fuse; inexpensive to replace and break first to protect the more expensive parts. Genius!
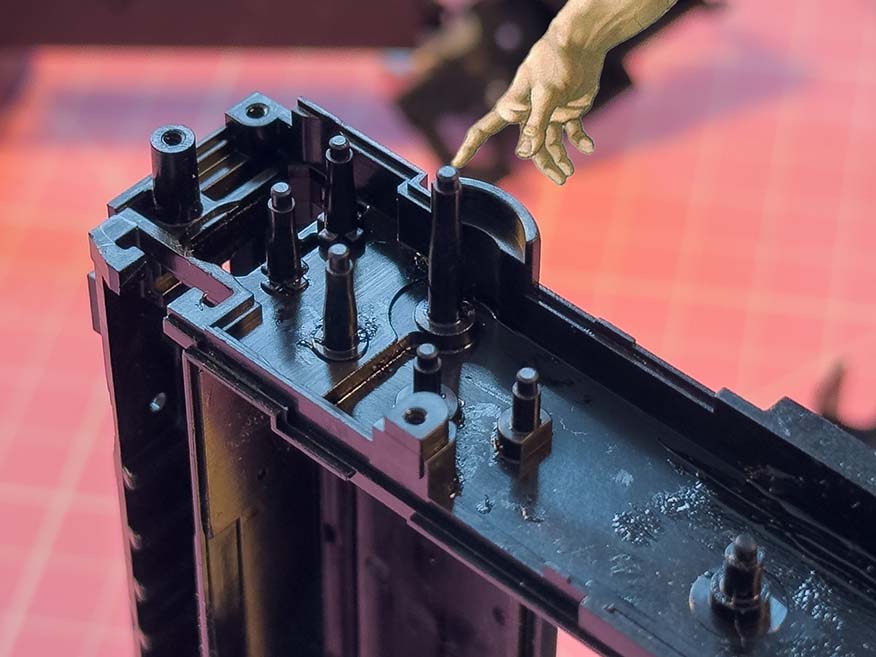
Ever since I added the mechanism that locks the crank when turned the wrong way, the problem has shifted from a broken gear to a snapped gear post, which is unfortunately a lot trickier to repair.
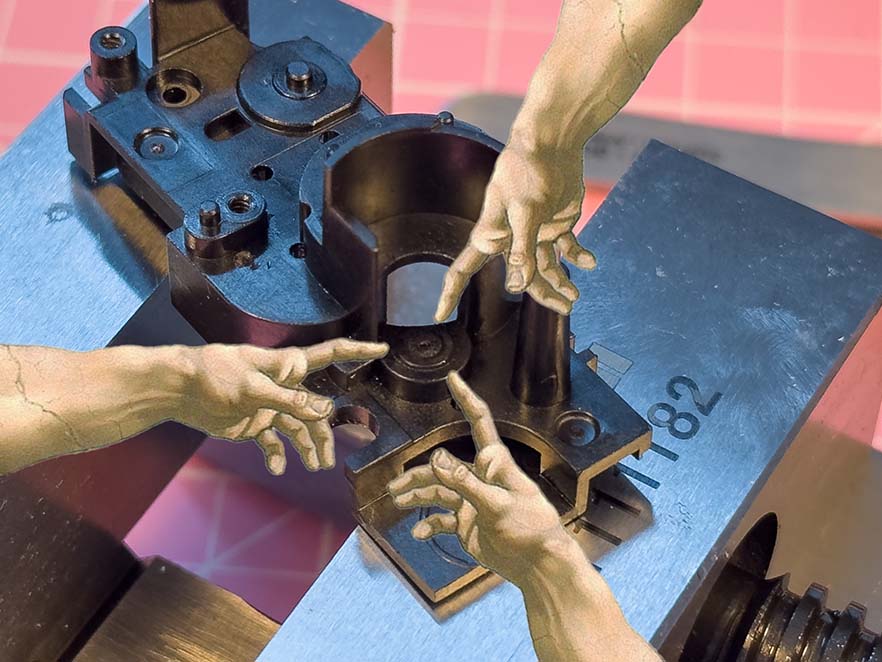
Below you’ll see a good gear post on the left and a snapped one on the right. A snapped post can’t be repaired, you can’t glue it back and call it a day because there isn’t enough contact surface, so the joint will be weak.
If that’s how their binstax/zinstax broke, I’ll have to get back to the customer and let them know that a gear post is unfortunately snapped clean off, and I’ll need a donor SQ1 for parts to replace the whole unit, which will cost at least 90 Euros.
Some customers get upset and tell me how their disappointment is immeasurable and their day is ruined. I totally understand their frustration, I’d be mad as hell too if I paid that much for a back that broke after only some use. In those cases, I’ll just swallow the loss and offer a free repair to make things right.
So naturally I came up with a better way to repair this kind of failure: using custom machined threaded gear posts. They function like inserts and are, supposedly, stronger than the original molded gear posts.
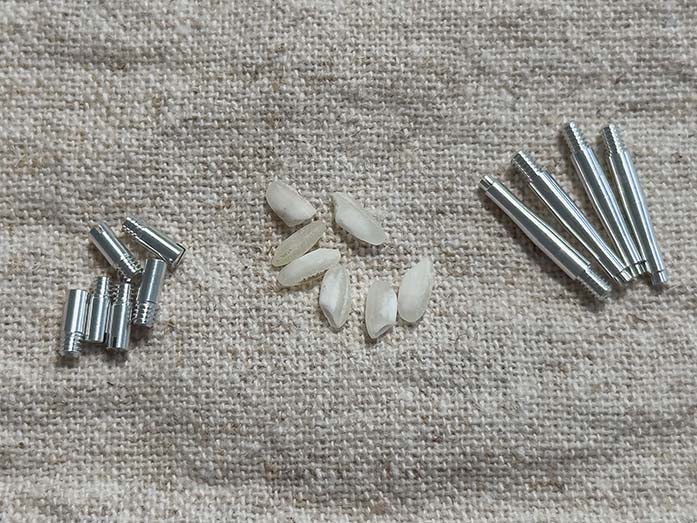
Here’s a picture comparing the machined posts to some grains of risotto rice!
The repair is pretty straightforward, just drill a hole where the gear post snapped off, screw in the machined gear posts, and voila. What a beauty!
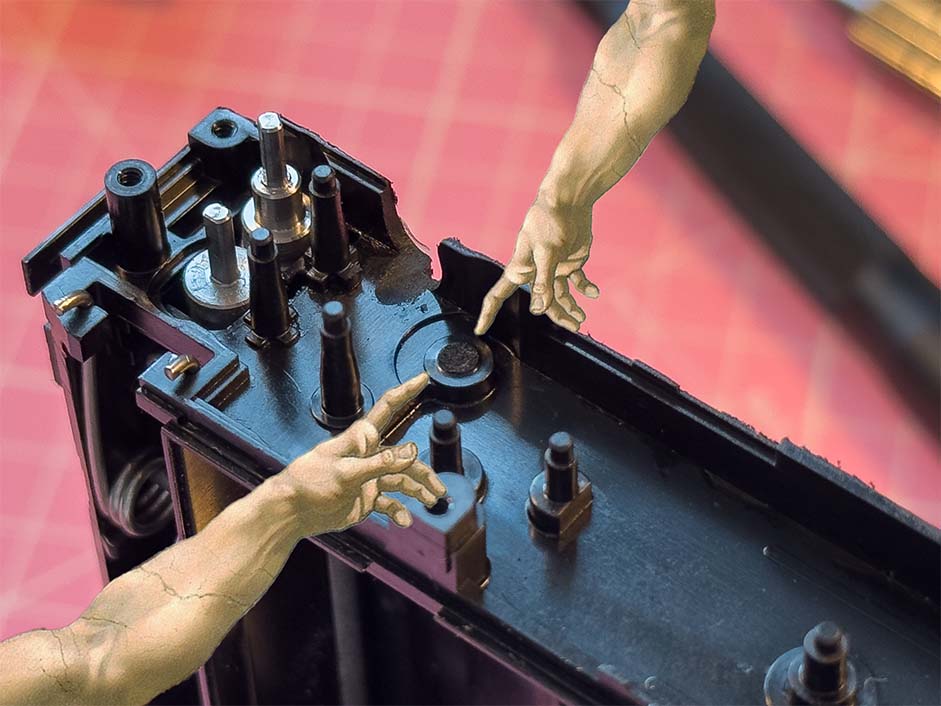
Here’s how it looks on the back. Now you’ll know how to check if the second-hand binstax/zinstax you bought on eBay has those metal gear posts (please buy it from me).
And here’s a comparison to the molded gear post. The original is on the left and the repaired one is on the right. Also notice the post is not cylindrical.
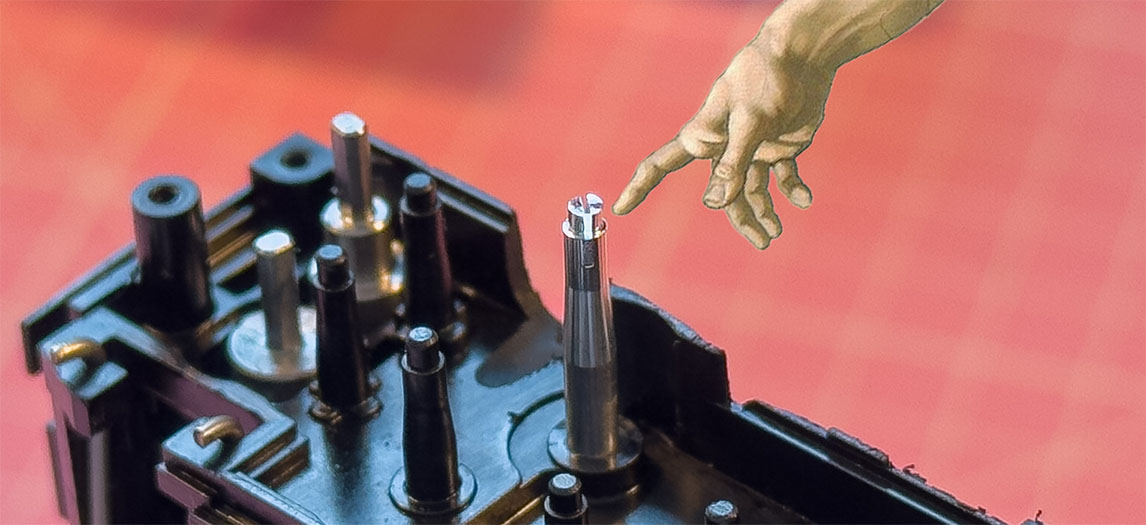
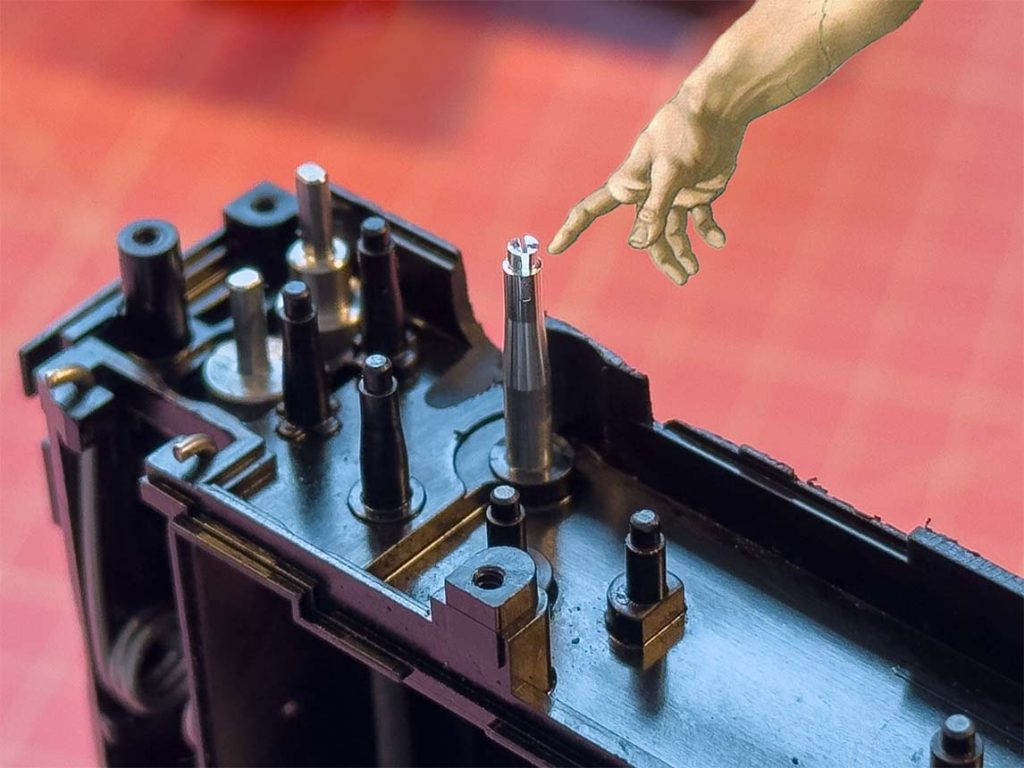
The top of the gear post fits perfectly into the corresponding hole in the gearbox cover. If this isn’t satisfaction, I don’t know what is.

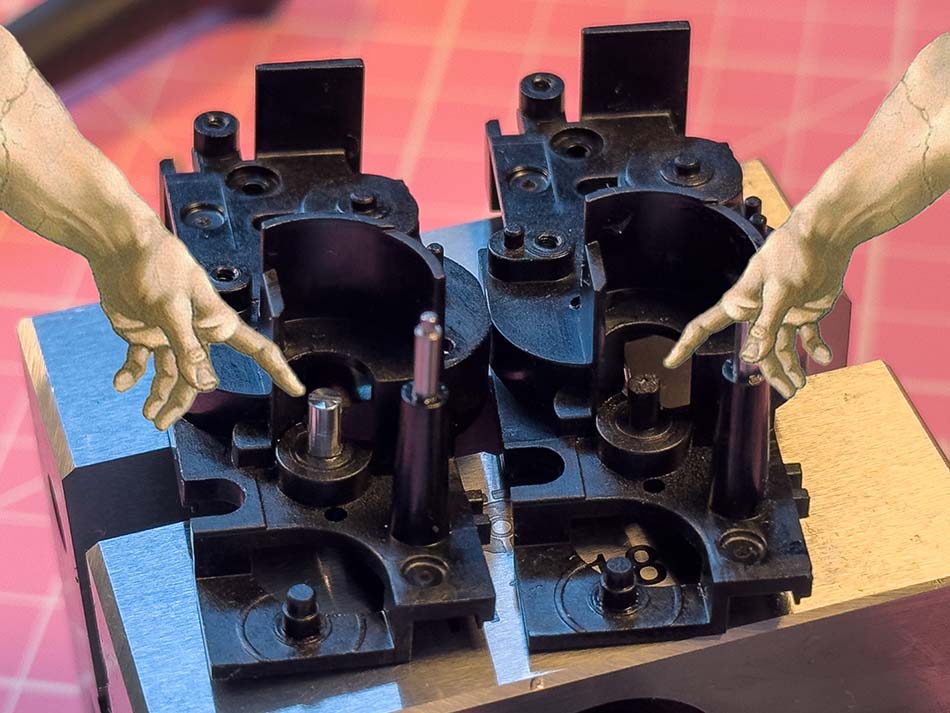
Here’s another example of a snapped gear post. This happens more often because the crank pivots right on it.
If you put too much side load on the crank, it might snap off from fatigue, just like in the picture below. But unless you’re shooting 100 packs a day for a week straight or you love to turn the crank sideways, you probably don’t need to worry too much about it. And even if it does break, it’s now easily repairable, so it’s not a big deal (anymore).
Here’s how it looks after the repair.

I really don’t think it’ll ever snap like the original one on the right. It’s definitely stronger than before. It’s like Wolverine got the Adamantium upgrade.
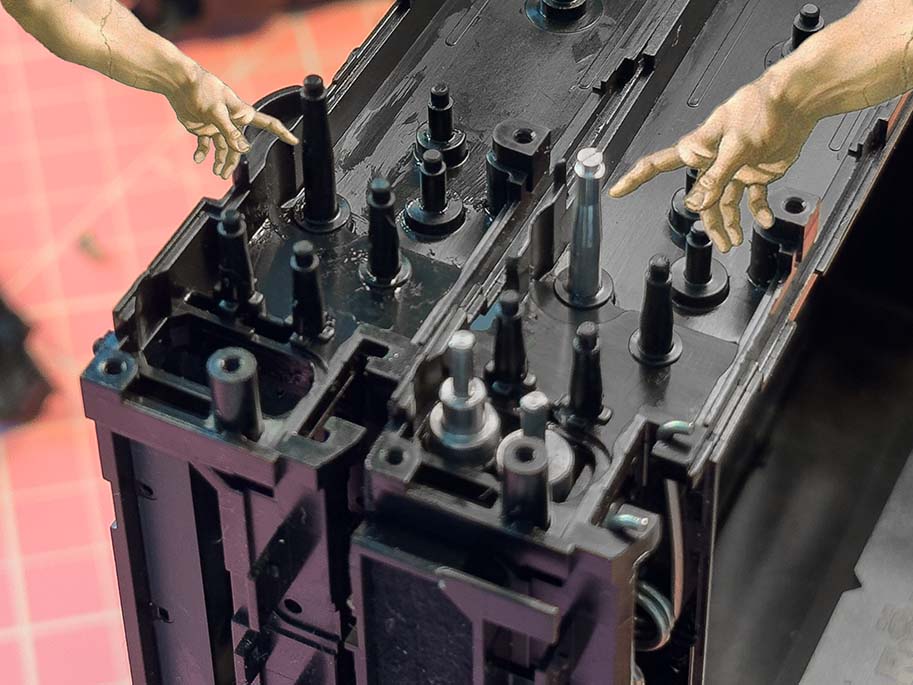
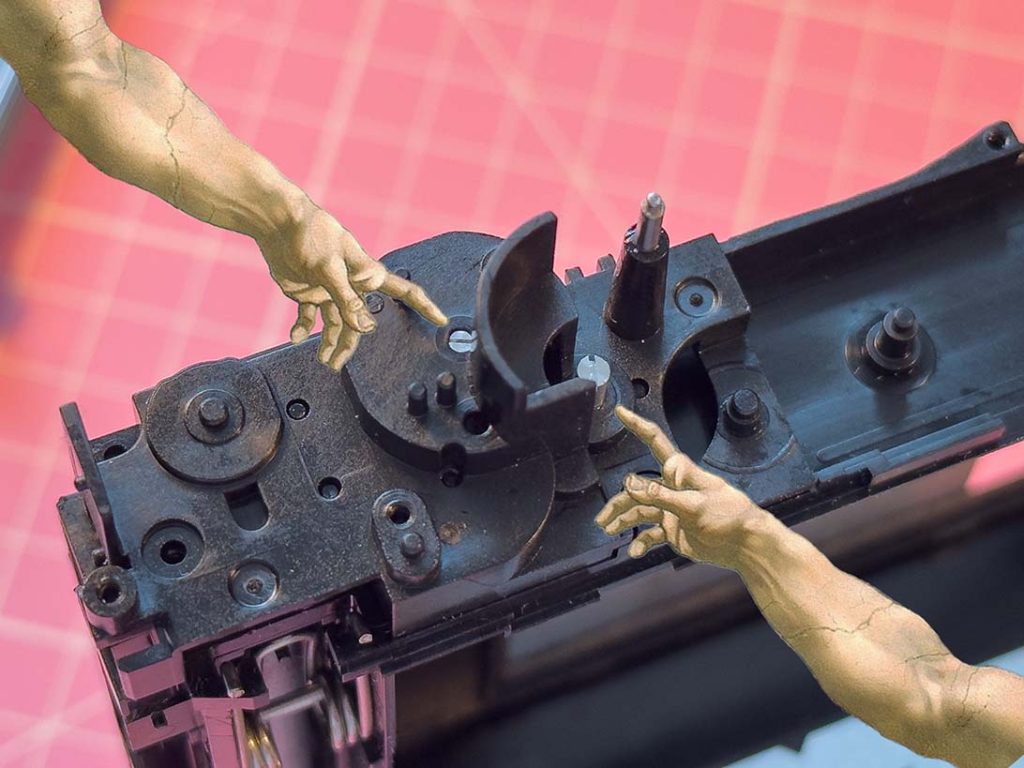
Finally, here’s what the fully assembled gearbox looks like. You can really see the silver inserts standing out against the black plastic.
I thought it would be interesting to show you how I repair these. If your Binstax/Zinstax stops working, feel free to drop me a message. But please, don’t break it just for the sake of an upgrade 🙁